Waikiki Condo Remodel Journal – Ilikai #327
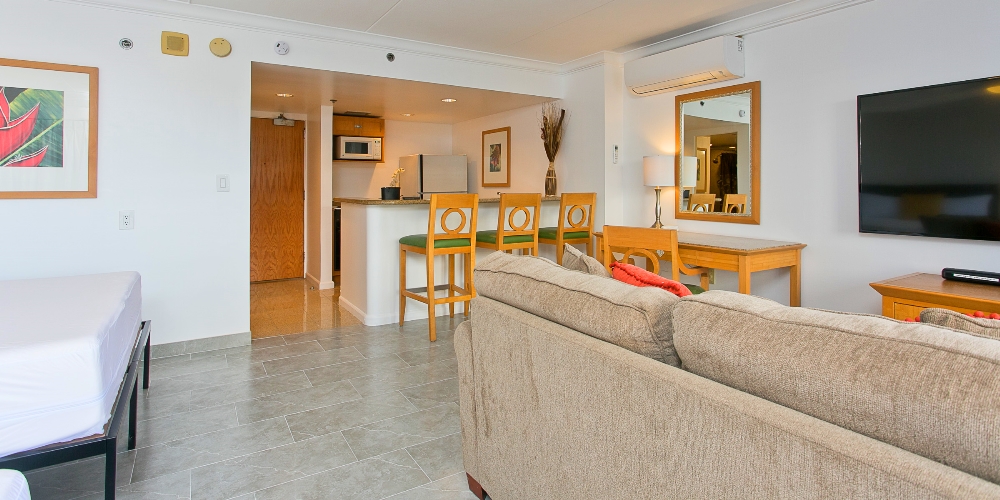
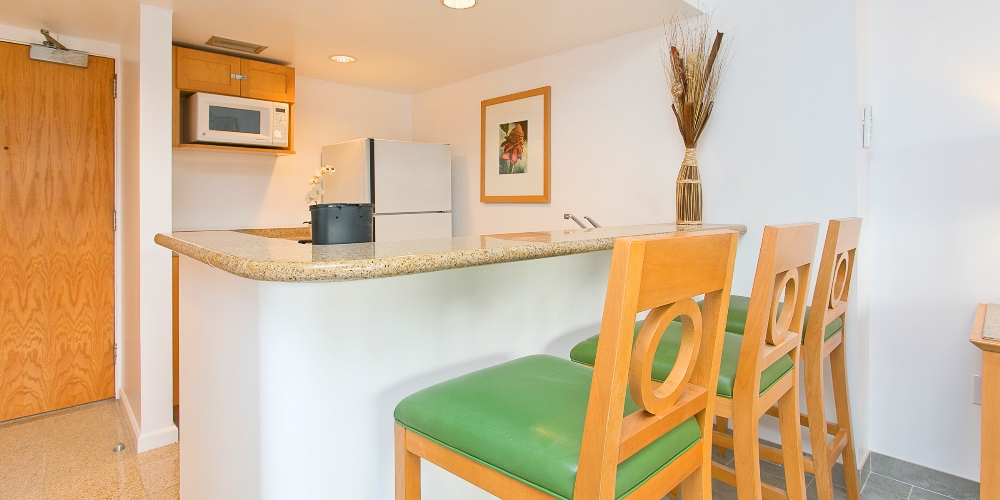
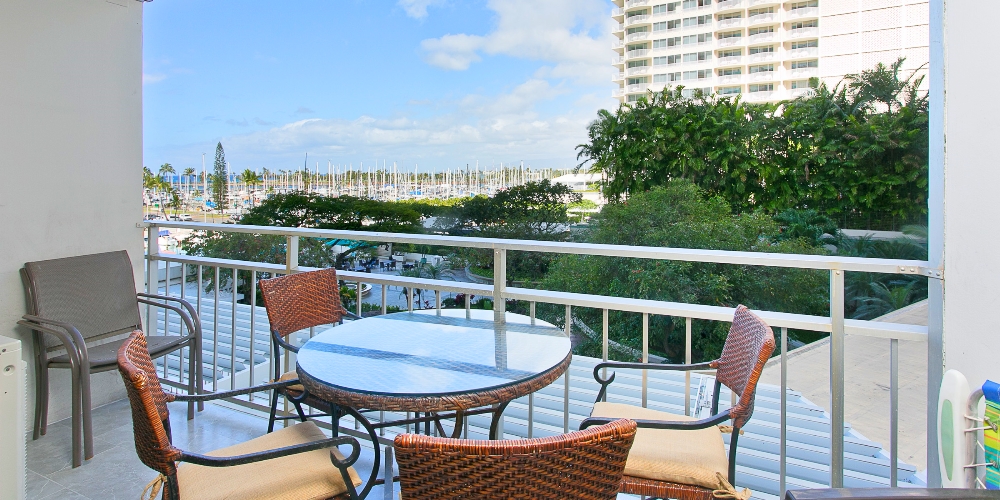
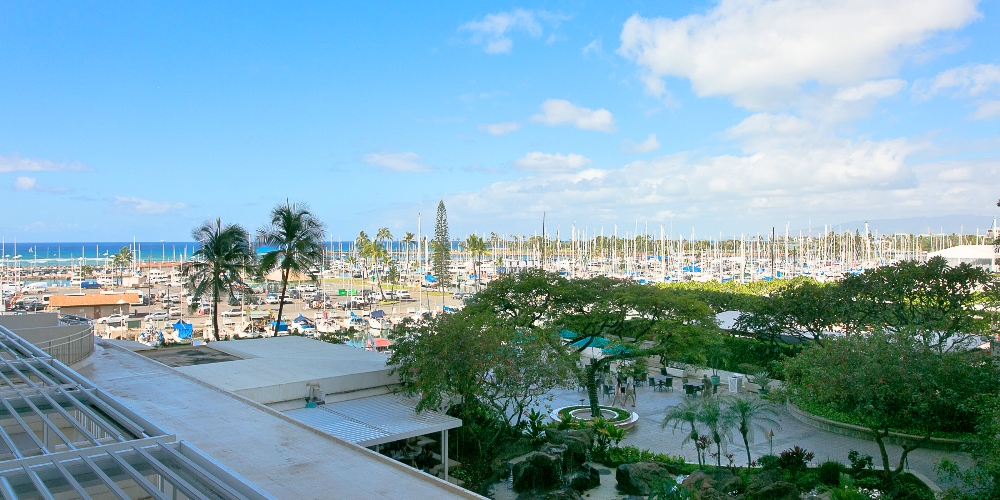
Of all condos in Waikiki, the Ilikai is one of my favorite. It is also one of only two dozen condotels that allows short-term vacation renting. The Ilikai is special because of its direct beach access, impressive ocean views, and luxurious resort feel. My goal is to complete this Ilikai #327 remodel project in four weeks and be rent-ready by mid-February. You can compare with my 2017 comprehensive Ilikai #712 remodel journal here. The Ilikai #327 unit had been already a solid vacation rental with steady bookings. Just a few minor tweaks will further improve the visitor experience and increase cash flow. This unit was last remodeled in 2003 as part of a large renovation project that involved many Ilikai units. You may recognize the signature Ilikai kitchen design with granite bar-countertop, 12” x 12” granite floor tile, tropical green carpet, sand color wallpaper, and crown molding.
I will be upgrading the following components to improve functionality, durability, energy efficiency, and ambiance for maximum visitor enjoyment:
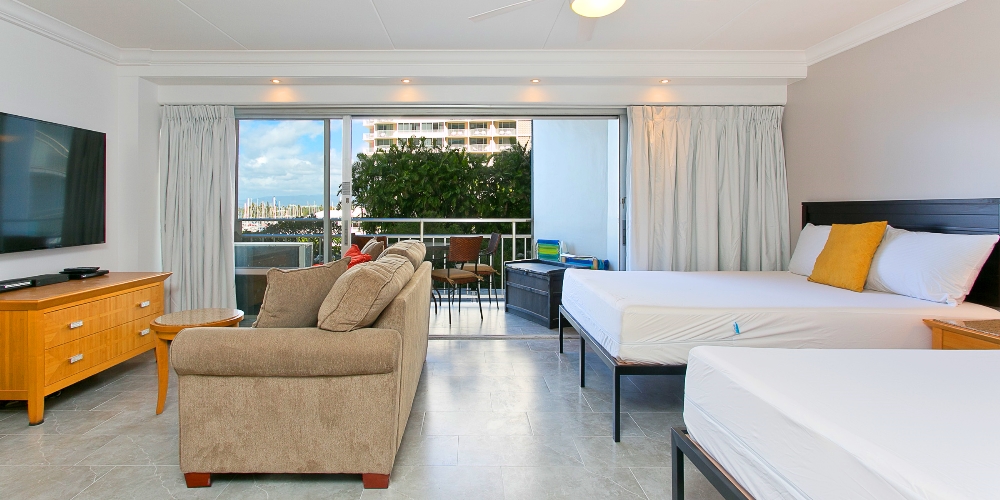
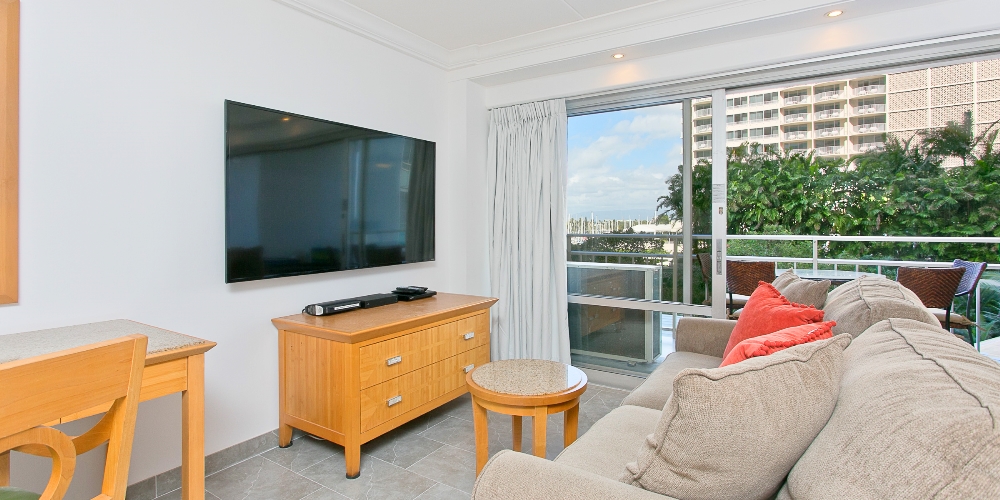
1) Replace the existing carpet with 12” x 24” porcelain tile. Extend the same tile out on the lanai.
2) Move the curtain track ~5” closer to the lanai sliding glass door. Install a new curtain track below the soffit at the lanai sliding glass door. This will add an additional ~five inches clearance, enough to install two Queen beds.
3) Repurpose the existing curtain valance with crown molding into a narrow soffit with 3” dimmable LED recessed spotlights.
4) Reframe the wall behind the bed to be flush with the left concrete pillar. This requires the crown molding to be modified as well.
5) Remove the protruding drywall corner to the right of the bed and install a new narrow closet instead.
6) Remove the AC plastic conduit and install a drywall column instead. This will hide the AC chiller lines for a cleaner look.
7) Remove the existing old window tint.
8) Install a new ceiling fan.
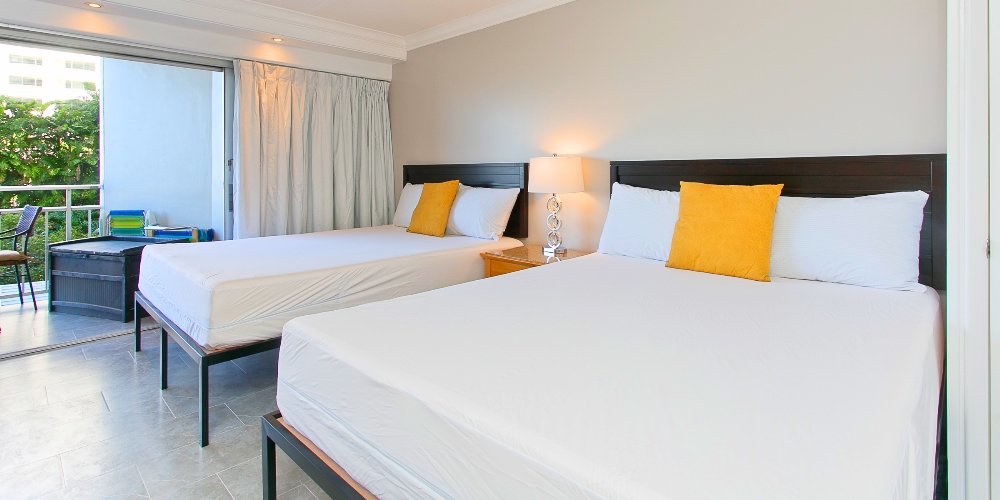
9) Replace the existing King bed with two Queen beds.
10) Paint the entire unit.
11) Install new black-out curtains.
12) Install a larger wall mounted flat screen TV with all wiring running behind the wall.
13) Replace the existing appliances.
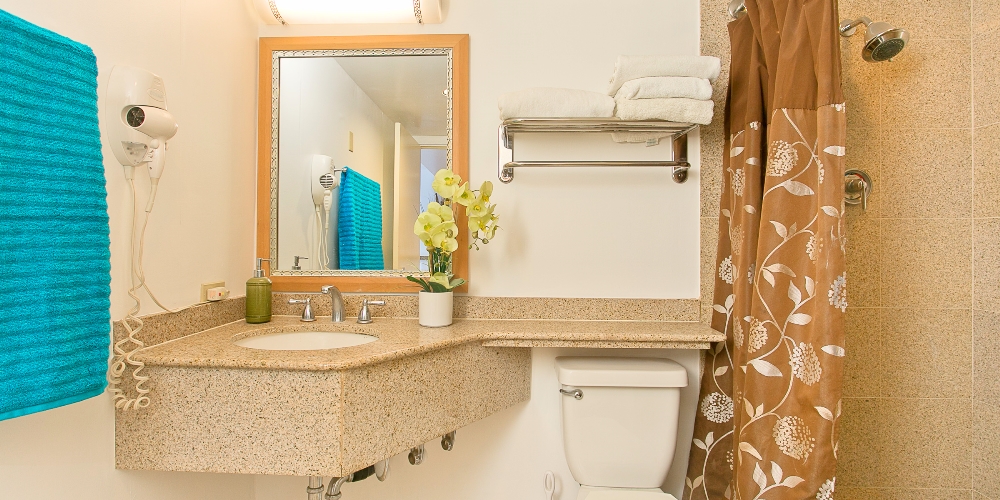
These changes represent a partial remodel. The kitchen and bathroom will remain the same, other than wall touch-up and new paint. It was a difficult decision on when to suspend rental bookings and schedule the work. There really is no good time to not have it rented. But the faster the upgrades are completed the sooner the unit could generate increased revenue. Time is money. Let’s get started.
1/8/2018 – Week #1
This is the first time I get to see the unit since it has been booked solid up until now:
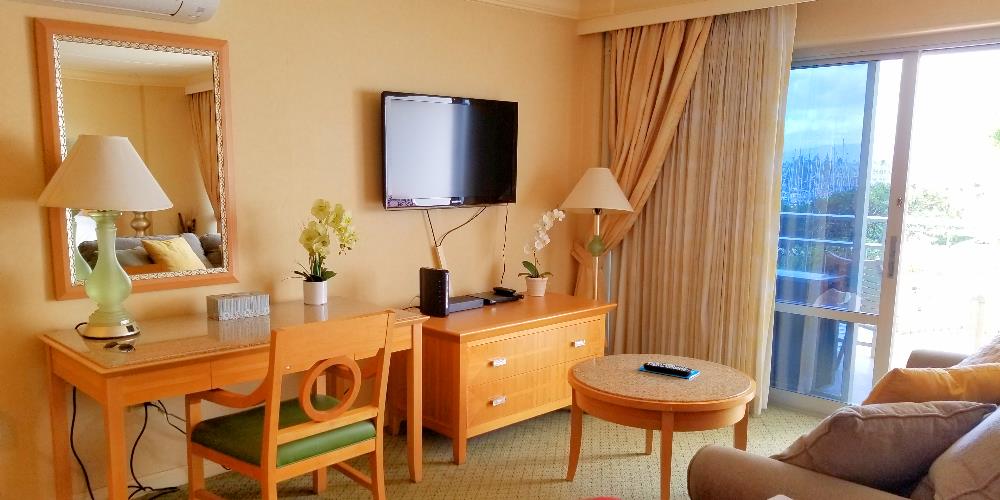
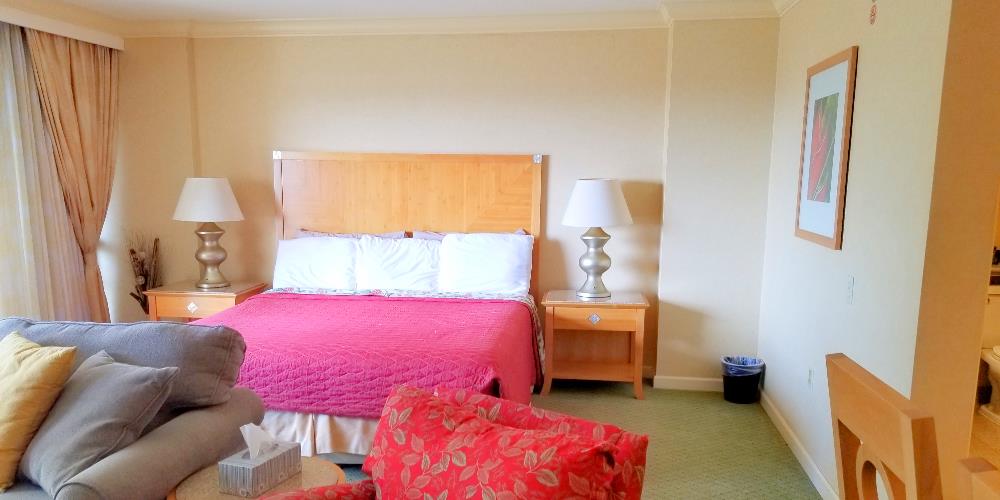
I took measurements and assessed what needs to be done including what materials I need. Immediately, I ordered the following materials to be ready and avoid construction delays:
From Lowes: 450 sqft porcelain tile 12” x 24”, with an expected delivery date of Friday 1/19/2018.
From Slumber World: 2x Queen Uptown headboards. Ready for p/u after 1/16/2018.
From Amazon:
– 2x Olee Sleep 14 Inch T-3000 Heavy Duty Steel – Queen Bed Frames 14BF04Q (QUEEN)
– 2x Signature Sleep Memoir 12 Inch Memory Foam Mattress with CertiPUR-US certified foam, Queen
– SGL 3 Inch LED Recessed Lighting Kit, IC Rated, 6x GU10 Dimmable 6w LED Bulbs Included, 2700K Warm White, Swivel, 6-Pack
– 10 Pack Bioluz LED GU10 LED Bulbs 50W Halogen Equivalent Dimmable 6.5w 3000K 120v UL Listed (Pack of 10)
– ECHOGEAR Low Profile Fixed TV Wall Mount Bracket for most 32-80 inch TVs – Holds TV 1.25″ from wall
– 2x Datacomm 45-0031-WH Recessed Low Voltage Media Plate with Duplex Receptacle, White
I did not order appliances yet.
During the first week, I also executed the contractor’s proposal. We are waiting for the Ilikai AOAO approval.
1/15/2018 – Week #2
Monday was a holiday. We received AOAO approval on Tuesday and the demo work began. The contractor removed all carpets, curtain rods, and the AC conduit.
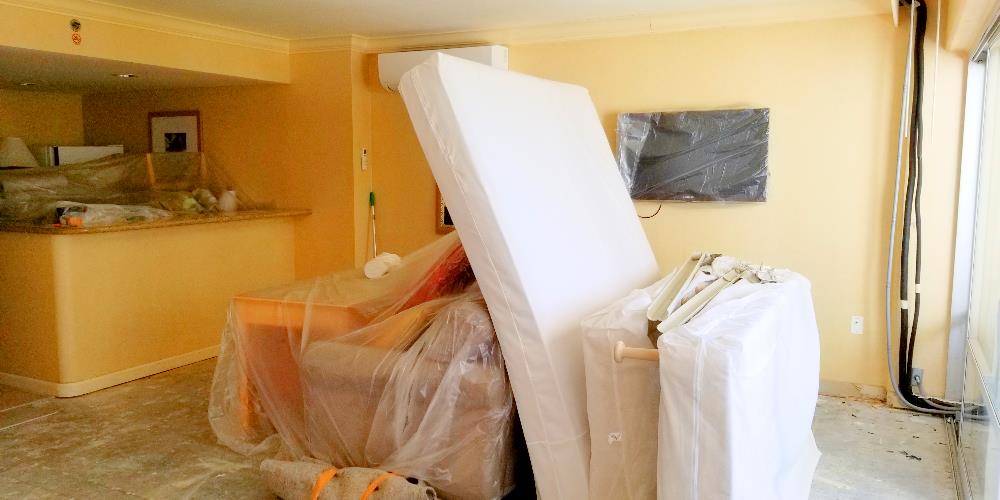
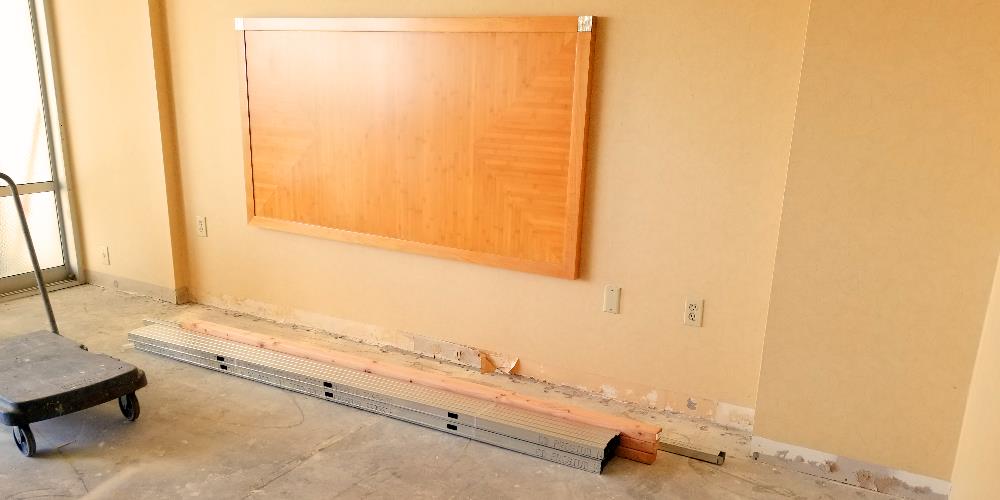
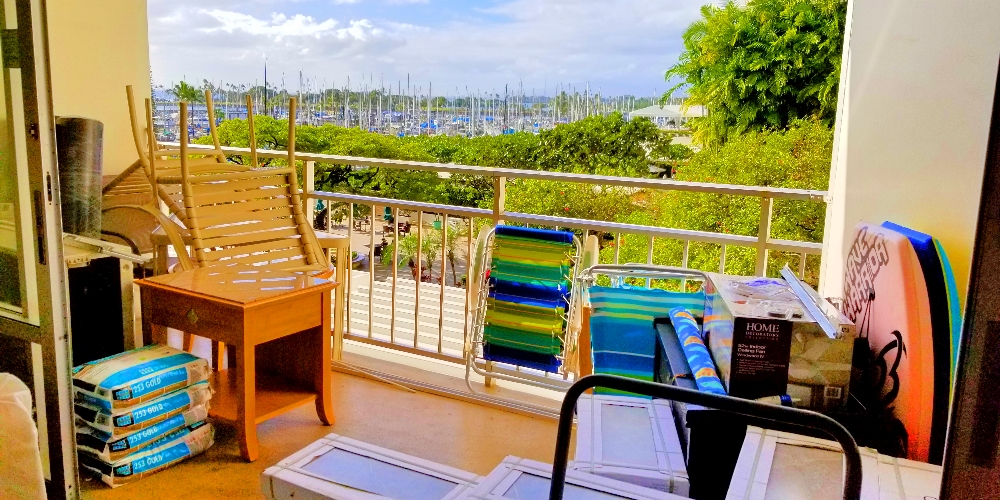
I picked up three roles of Latecrete 170 sound & crack insulation floor underlayment with four bags of thinset mortar from Daltile. Friday 1/19/18 Lowes delivered 225 porcelain tiles to the Ilikai loading dock. I rolled them up to the unit and stacked them on the lanai for now. I started removing the old tint from the lanai sliding glass door. This is a tedious job that took hours.
1/22/2018 – Week #3
The contractor re-framed the bedroom drywall to be flush with the concrete pillar in the corner and built the small closet in the right corner. Now the bedroom wall is flat from the sliding glass frame to the closet. This will allow for the flat-mounting of two new Queen headboards.
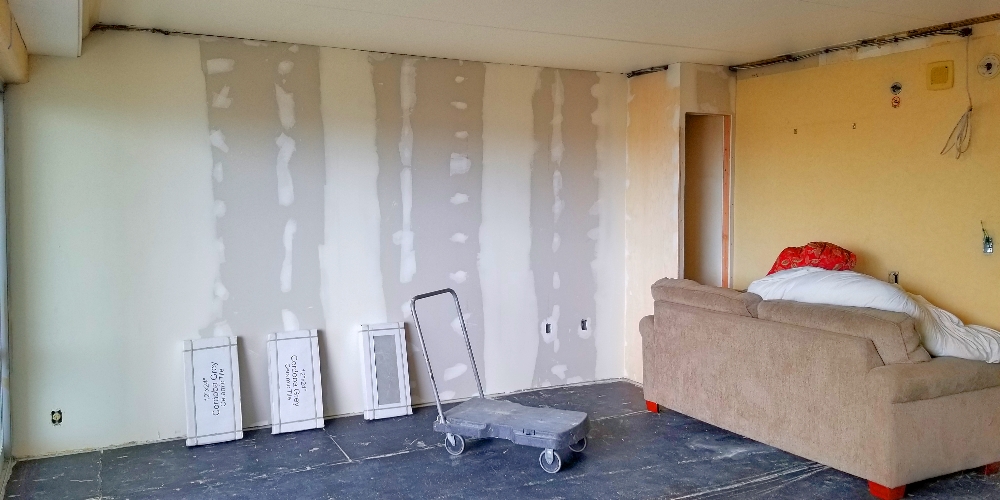
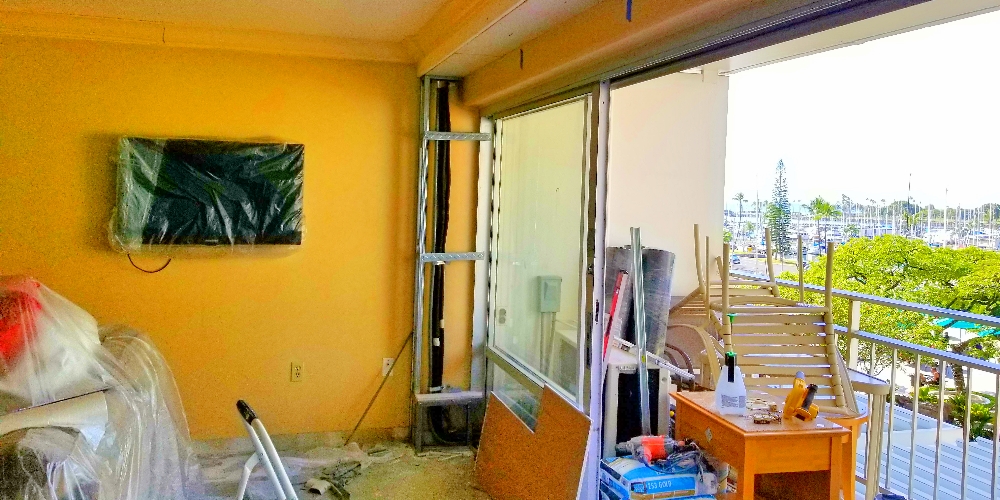
The AC conduit is now hidden behind new drywall, flush with the existing concrete pillar in the living room corner next to the sliding glass door. This is a cleaner look compared to before. The new soffit with electrical line above the sliding glass door has been completed. Four recessed lights will eventually be installed where marked with blue tape.
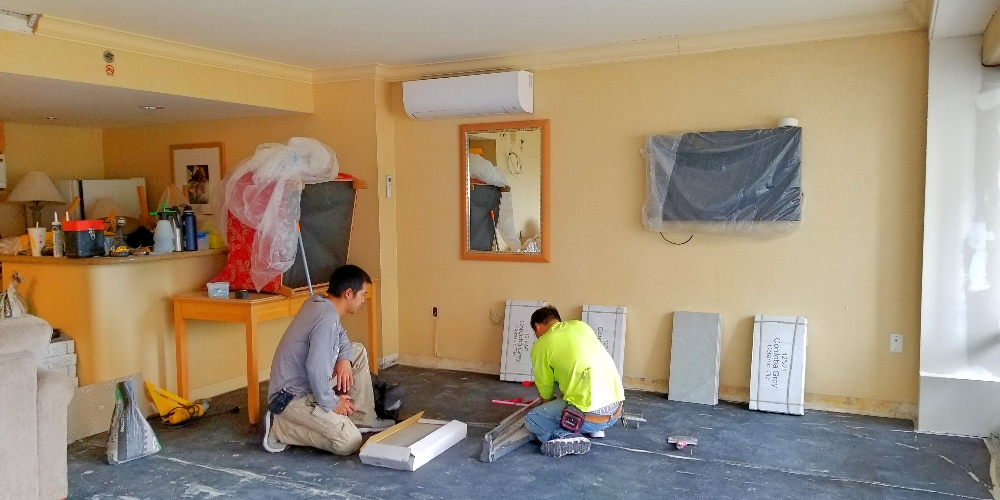
The Latecrete sound insulation was installed on 1.24.2018.
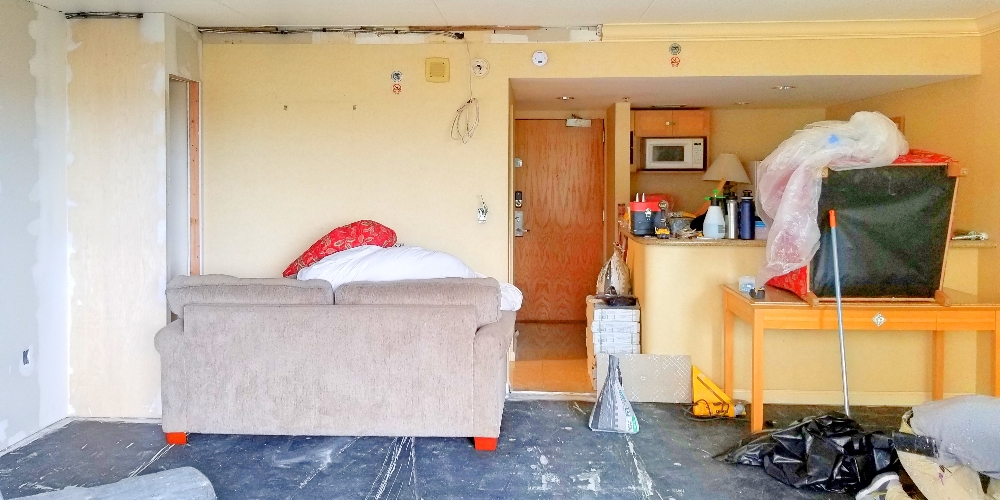
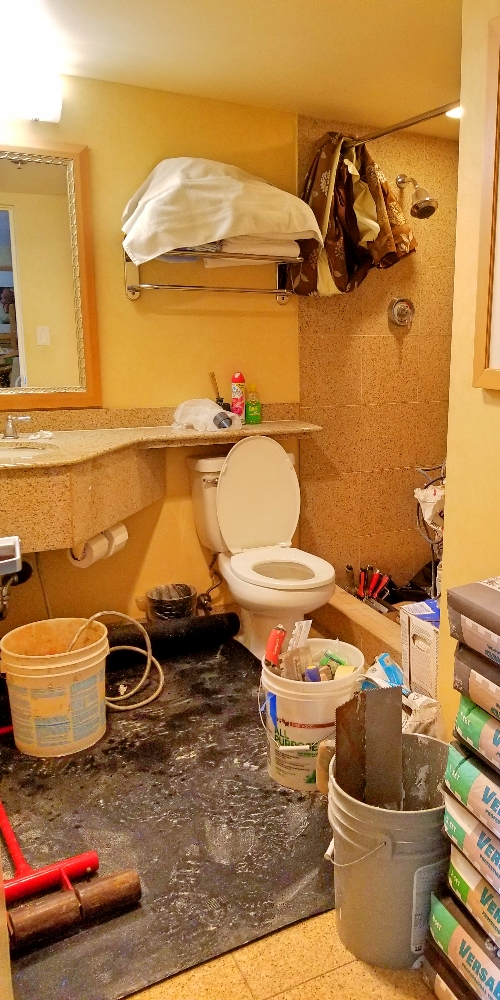
The picture above shows the crown molding temporarily removed. You can see the new electrical conduit that will feed the recessed LED lights in the new soffit above the sliding glass door. Also visible is the new light switch and the electrical feed that will power the ceiling fan.
Next will be the 12”x 24” tile installation with a one/third offset pattern. All materials are ready, stacked in the bathroom and on the lanai.
–Tile installation progressed and most floor tiles were laid before the weekend. I picked up two boxes of Platinum non-sanded grout from Home Depot. Next week will be lanai tiling, tile grouting, ceiling fan installation, and paint.
Slumber World was scheduled to have two Queen Uptown headboards ready for p/u effective 1/16/2018. Regretfully, they were not ready for pick up this week. The new expected arrival date is Wednesday 1/31/18. I’m still contemplating the appliances and black-out curtains.
1/29/2018 – Week #4
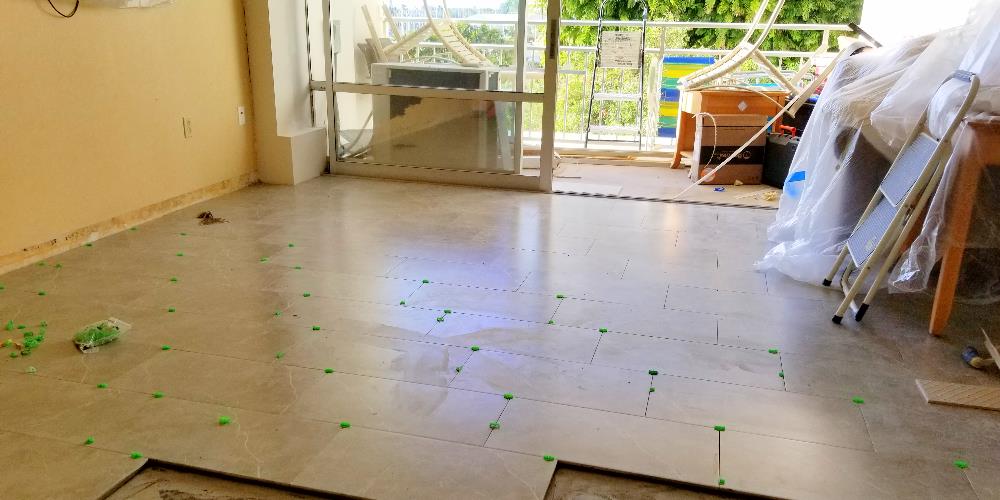
The contractor completed the tiling of the living room and lanai. We used left-over tile to finish the baseboards. The new floor looks great.
The closet framing is completed and the new closet door is being cut to size. Painting started late this week. I use Behr Premium Plus “Ultra Pure White 7750” for all walls and flat white paint for the living room ceiling. I selected Premium Plus “Burnished Clay PPU18-09” for the accent wall behind the beds. I also purchased black-out curtain material from Fabric Mart for my favorite seamstress Aiko’s Fashion on Kalakaua Ave to complete. The curtains are expected to be done by 2/17/2018. We saved the original curtain track and will install tracks and curtains after the painting is completed.
2/5/2018 – Week #5
The new custom closet door has been hung and painted. The crown molding was restored and painted. The contractor completed all painting and the recessed lights above the glass sliding door were installed. We replaced several electrical light switches and outlets. A new conduit runs on the ceiling from the wall to the middle of the room. Here we will install a new remote-controlled ceiling fan. Unfortunately, my hammer-drill broke. ☹
The large glass door panels had a scratched up dark tint. I spent hours scraping off the tint and residue glue with razor blades. I listen to educational podcasts while auto-piloting such mundane work. Otherwise, it would be unbearably tedious. I will not install new tint. The split AC, the new ceiling fan, and new black-out curtains will ensure cool comfort.
2/12/2018 – Week #6
I picked up a new hammer drill and concrete drill bits from Home Depot. Nothing can stop me now from completing the ceiling fan installation. ? I installed four closet shelves and a rod for efficient clothes storage. Instead of using a bubble level, I measured from the floor, assuming the floor is level. Not a good idea. Now the shelves and the rod look slightly slanted. Lesson learned, I should always bring my bubble level.
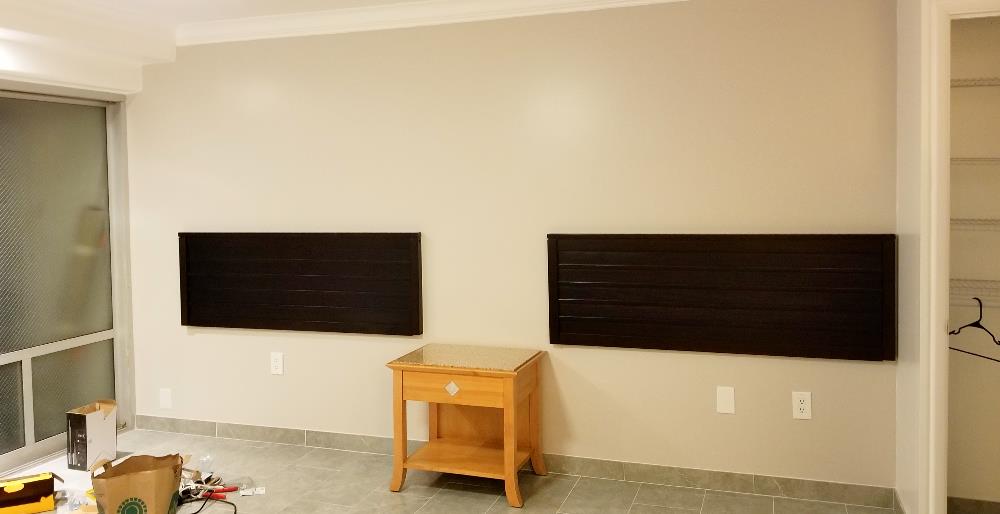
Two Queen size ‘Uptown’ headboards are finally ready for pick up from Slumberworld. The contractor cut off the legs and I mounted the boards on the wall – perfectly straight using my bubble level.
2/19/2018 – Week #7
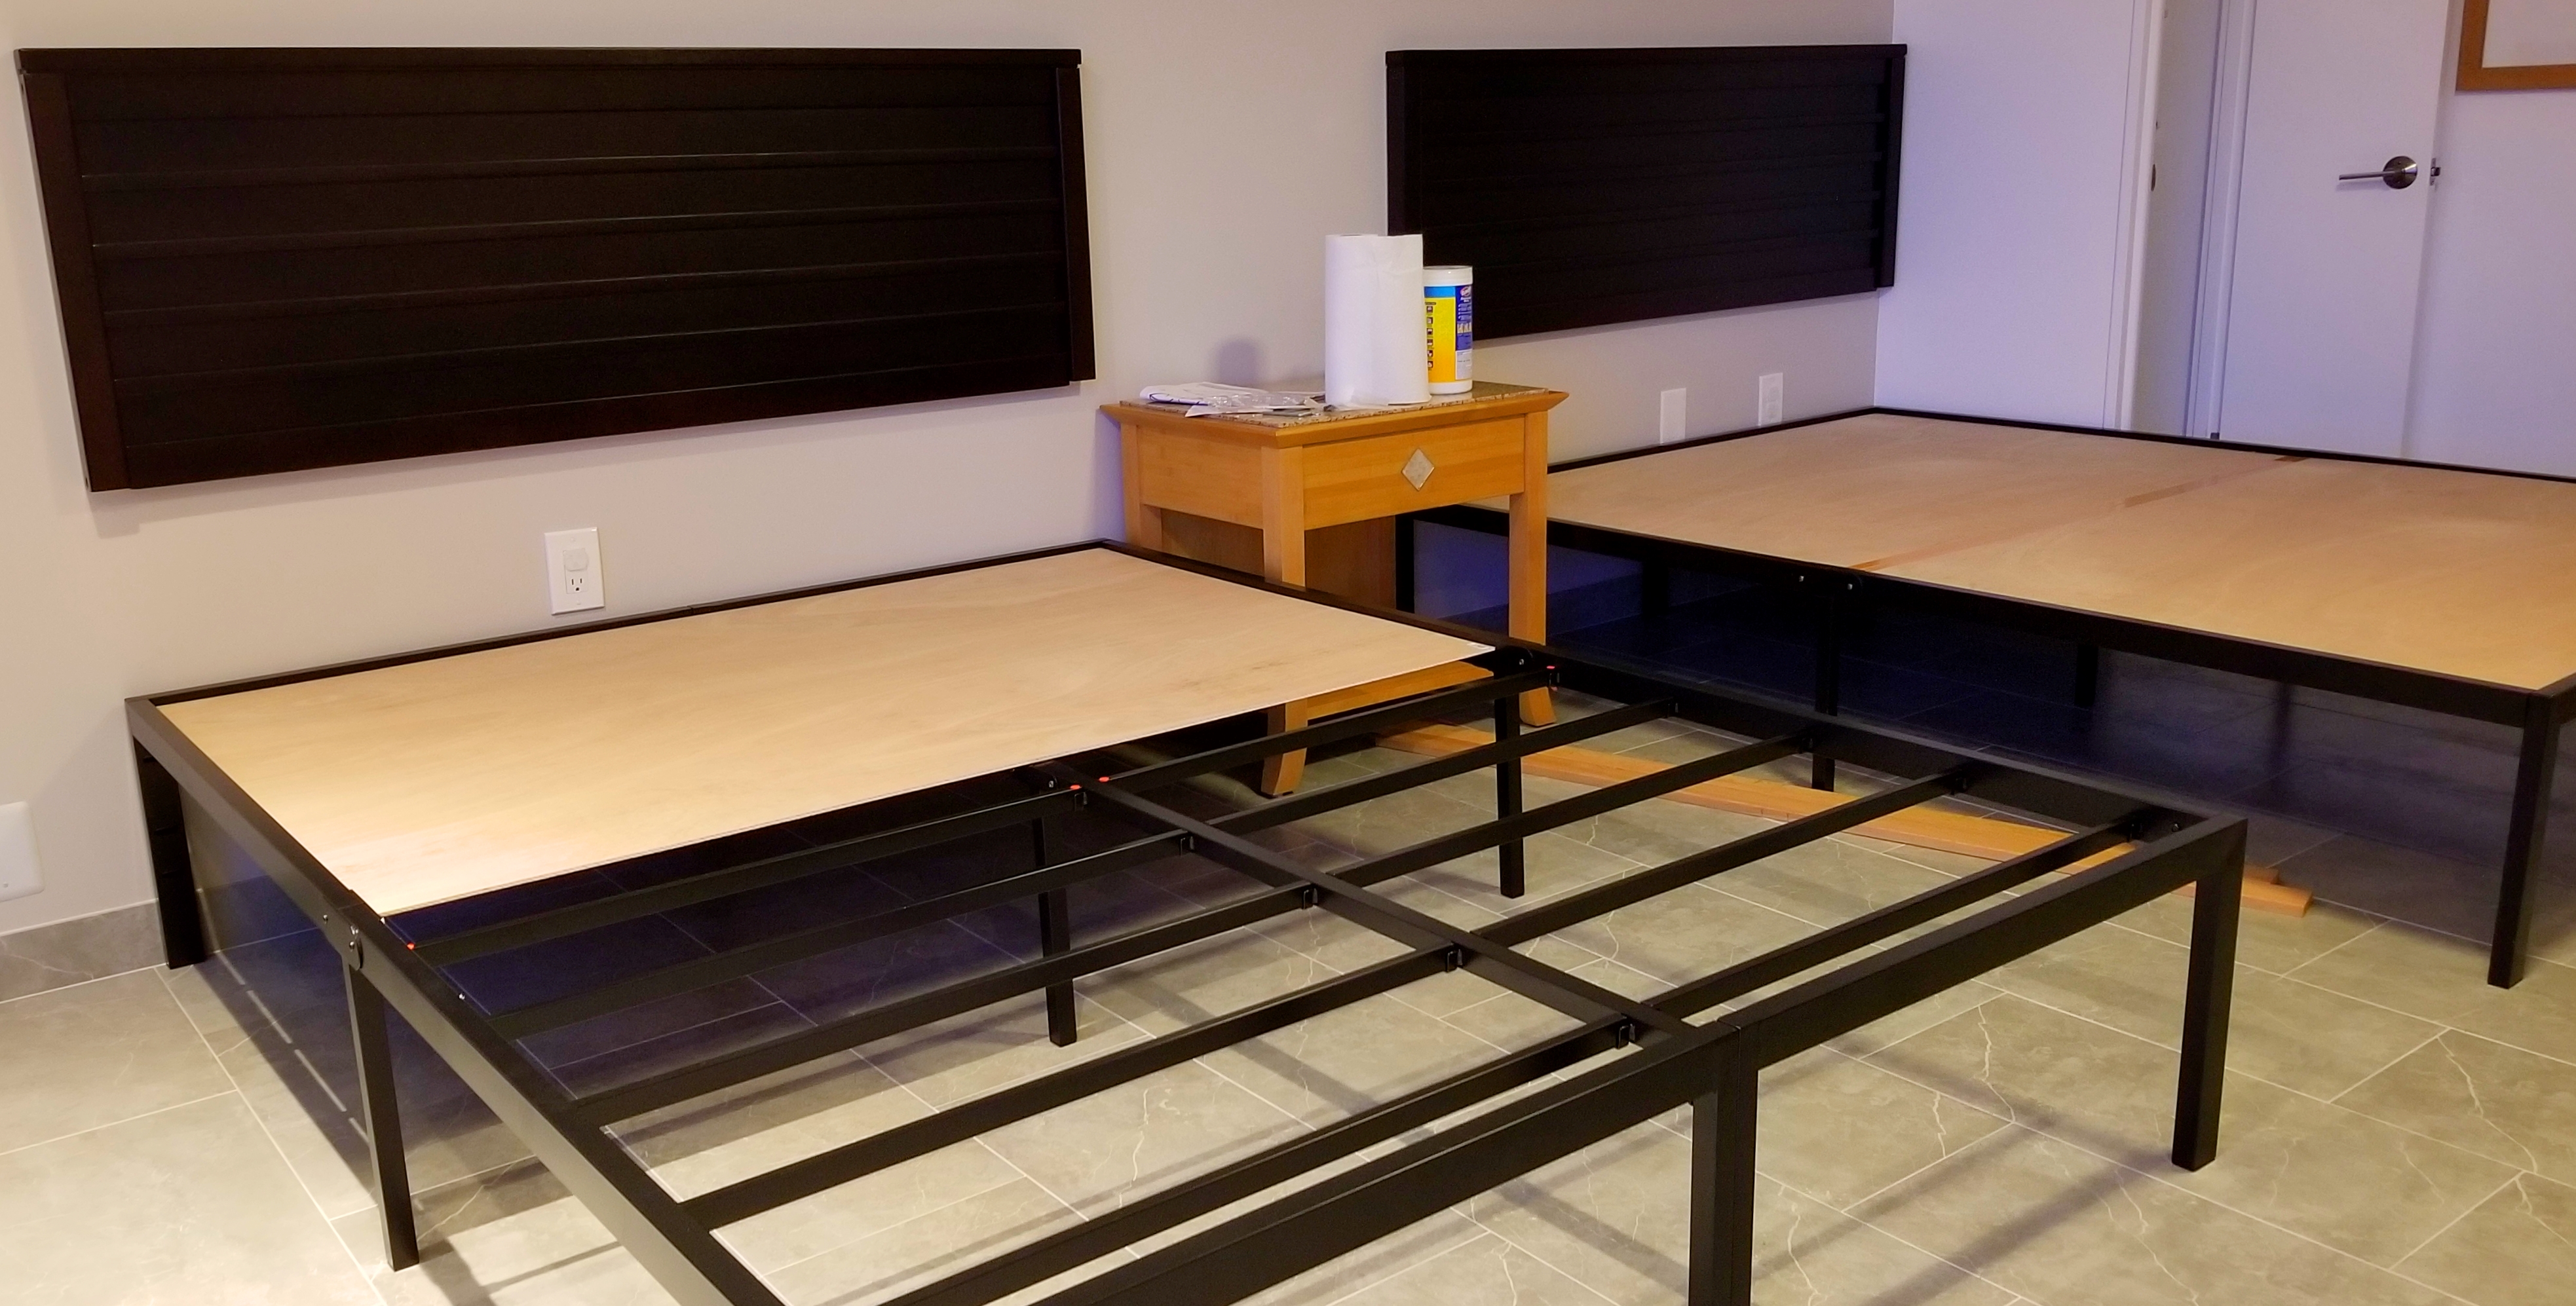
I assembled two Olee Sleep 14 Inch T-3000 Heavy Duty Steel – Queen Bed Frames 14BF04Q. Each frame can hold up to 1,000 pounds and has a generous 13” clearance for suitcase storage underneath. I use a 3/8” plywood board on top of the frame to give the 12” mattress a solid level support. This week I also installed the curtain track and picked up the black-out curtains from the seamstress. I also replaced the existing old lanai furniture with a new table and chairs.
2/26/2018 – Week #8
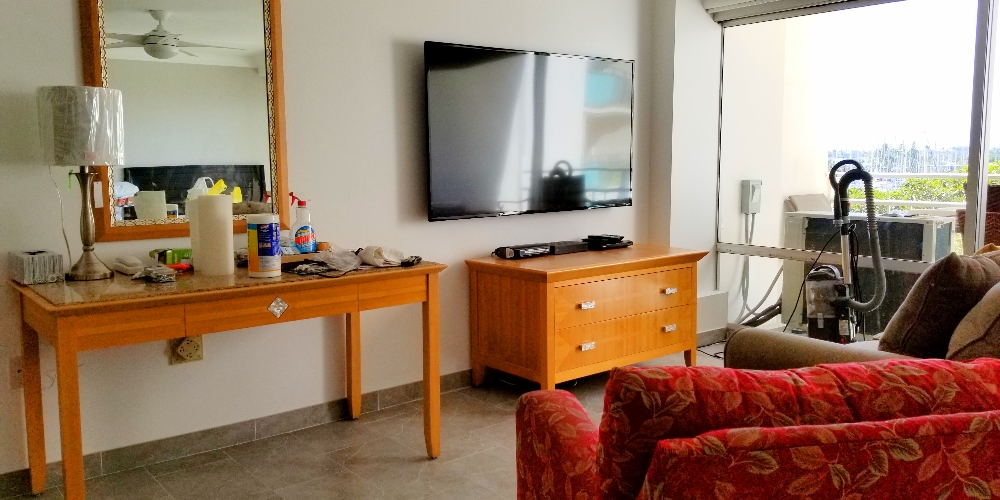
Time is seriously slipping away. I thought I would be long done by now. We installed two data ports in the wall where the TV will be installed. This allows for all wires to run invisibly behind the wall. I decided on a new 4K, 65” smart TV. Guests will be able to stream Netflix, Hulu or any other streaming service. This TV was huge, at least by my standards. It barely fit in the car with the seats folded down. Don’t try this by yourself. You need two people to hang this monster.
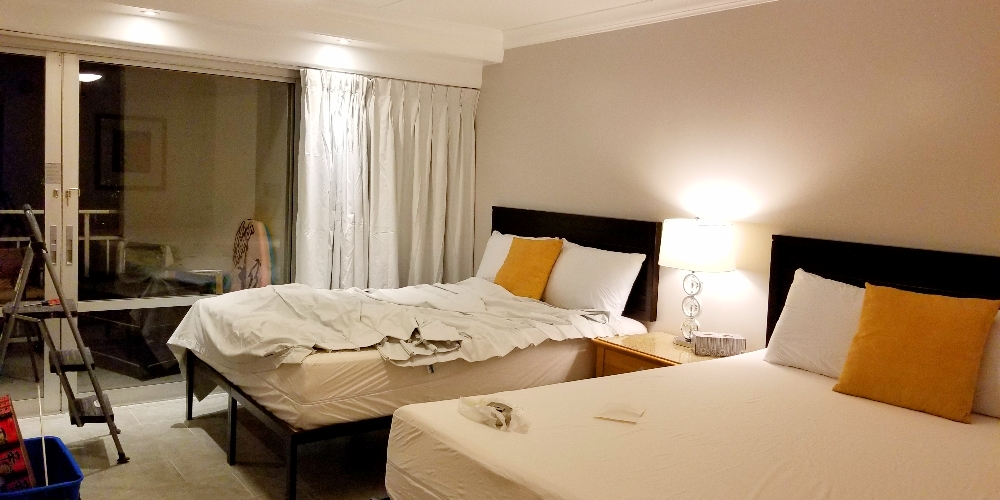
I also delivered and unpacked the 12” Queen mattresses and new pillows. Mattresses and pillows have been encased with waterproof and bedbug protective covers. I also bought two new lamps, one for the nightstand and one for the desk. The picture shows the black-out curtain installation below the new recessed lights.
3/5/2018 – Week #9
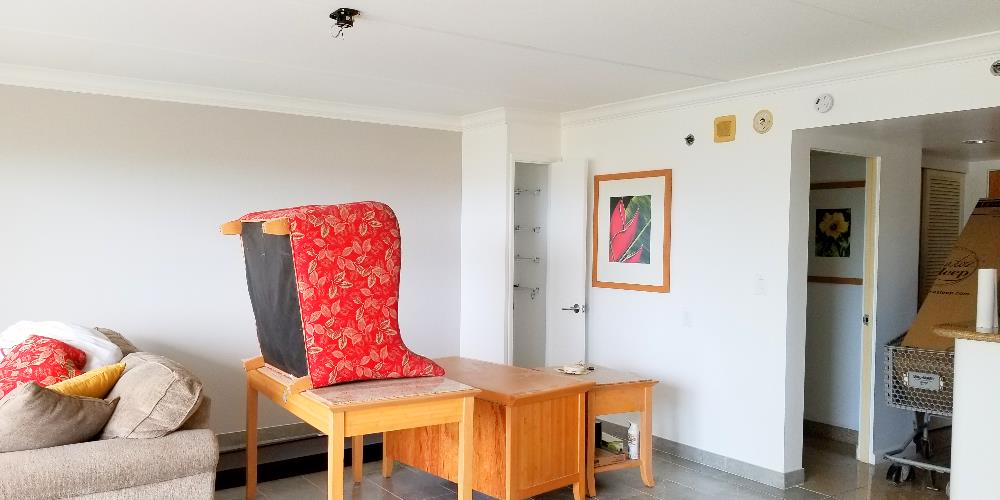
This week is clean up and finish. Do you remember seeing a red chair in the pictures above? I decided to finally throw it out. It looked glamorous from the distance, but it showed some wear and tear. The room looks more spacious without the chair. A few remaining items are being completed this week. Costco had a special on 6” LED energy efficient recessed lights at <$10 for a double-pack. I replaced all kitchen and bathroom recessed lights for energy efficiency and a clean modern look. I will still install a new hallway mirror next to the entry door. A new shower curtain is also due.
For now, I decided to keep the existing appliances. They work fine but admittedly they do look dated. I might change them soon, but not this week. I need this unit to generate income again. What should have taken only three weeks to complete turned into a nine-week project. Parkinson’s Law was at work again.
Ilikai #327 is now managed by my favorite Ilikai vacation rental manager WaikikiBeachRentals.com. Check booking calendar and room rates for both my remodeled Ilikai condos here: Ilikai #712 and Ilikai #327.
3.8.2018 – Pau for now, until the next remodel project. Stay tuned until I get the itch again.
We love to hear from you. Reciprocate Aloha! Like, share and comment below. ~ Mahalo & Aloha
Omg! This is so beautiful done, lots of hard work, well planned, you r the expert ! It’s amazing that you made huge difference turning everything spacious, 2 beds, chic, just love everything, breathtaking views from the lanai, well done and congrats!!!!!
Can I book now? Lol! 👏🏽👏🏽👏🏽Well done, aloha!
Mahalo for your kind words. 😉
Are you working with the same contractor as you did on Unit 712 ? Thanks for posting these renovation blogs. I find them interesting, informative and helpful.
Aloha Rob,
Thank you for your patience. I got a little behind and will be updating from week #4 onwards. Yes, I used the same contractor as with Ilikai #712 remodel:
Bryan Chen, #230-6142 with CB Construction; BryanC@cbconstructionLLC.com. Bryan does excellent work.
Very useful info! Mahalo
Aloha Chuck, Thanks for checking in. Hope to have this unit finished soon. I documented a more comprehensive remodel here: https://www.hawaiiliving.com/blog/waikiki-condo-remodel-journal/
— Let me know if there is anything we can do for you.
We are here to help. ~ Mahalo & Aloha